


Hardwood sanding day feels a bit like surgery for your house. It’s loud, dusty, and you can’t “use the room” for a while. The good news is that preparation is the part you can control, and it makes everything go smoother.
If you’re planning Hardwood floor sanding in Alpharetta (or anywhere around Atlanta), expect a real disruption that often lasts several days. Most homeowners can knock out the prep in 1 to 2 days, and that prep helps protect your belongings, reduces dust spread, and can even improve how the final finish looks.
When you’re ready, take the simplest next step first: Schedule a measurement appointment. A good estimate visit is where you’ll confirm what’s doable, what needs repair, and what your timeline should be.
Start with a quick floor check, so there are no surprises on sanding day
Before the crew shows up, do a slow walk-through in socks. Look at the floor from standing height, then get down low with a flashlight. You’re hunting for problems that change the plan, cost, or finish quality.
Watch for deep scratches, pet stains, dark water marks, loose boards, cupping (edges higher than the center), and squeaks. Also note any spots that feel “soft” underfoot. Those areas may need board repair before sanding makes sense.
Take photos and mark problem areas with painter’s tape. Then write a short list for your estimator. Include where the issues are and how bad they seem. This simple documentation saves time during the visit, and it helps you compare options later.
Pay extra attention to thin wear layers. Some engineered wood floors can only handle a limited number of sandings, and some can’t be sanded at all. If you’re unsure what you have, don’t guess. Let a pro confirm it during the estimate. If you’re weighing whether to restore or start over, this guide helps frame the decision: restore vs replace hardwood floors.
As for what you should fix yourself, stick to safe basics like clearing rooms, removing surface staples you can see, and setting a few raised nails. Leave structural issues, major board replacement, and leveling problems to the pros.
Find and fix the small stuff that can ruin sandpaper
Sandpaper and metal don’t mix. One hidden staple can rip a sanding belt, scratch a drum, or slow the job down. That can also mean extra material costs, and it can add time.
Start by checking for raised nails, screws, carpet staples, and leftover tack strip nails near old transitions. If you see nail heads sitting proud, tap them down gently, then use a nail set to countersink them just below the surface. Don’t overdrive nails, because that can split old boards.
Carpet staples are common at doorways and along baseboards. Slide a small flat bar or end-cutting pliers under the staple, then pull slowly so you don’t gouge the wood. For stubborn bits, work them up in tiny steps instead of yanking.
Metal transitions deserve special attention. If the transition is metal and sits on top of wood, point it out during the estimate. The crew may remove it before sanding, then re-install or replace it later.
Keep it simple on safety:
- Wear eye protection and gloves.
- Sweep, then do a quick magnet pass over the floor to catch tiny metal pieces.
- Put removed staples and nails in a can, not a loose pile.
A good rule: if it can snag a sock, it can snag sandpaper.
Decide early on stain and sheen, then plan around drying time
Color decisions slow projects when they happen late. Pick your direction early: natural wood or stained. If you want stain, choose a general tone (light, medium, dark) and let your contractor guide what works for your species and your home’s lighting.
If possible, test a stain sample in a closet or a corner that won’t stand out. Wood absorbs stain differently, especially if some areas have old damage or sun fading. Ask your pro how they plan to handle pet stains or water marks, because those can “telegraph” through lighter colors.
Next comes finish type and sheen. Most homeowners think sheen is only about shine, but it also changes how dust, footprints, and tiny scratches show up.
Here’s the quick feel in plain terms:
- Water-based polyurethane: lower odor, dries faster, stays clearer.
- Oil-based polyurethane: warmer tone, stronger smell, longer dry time.
Sheen choices usually land here:
- Matte: hides small scratches well, looks natural.
- Satin: popular middle ground, forgiving in lived-in homes.
- Semi-gloss: brighter shine, shows more wear.
Either way, plan for rooms to be off-limits for days. Some smell is normal. If you want a deeper overview before you commit, this resource is helpful: how to refinish hardwood floors.
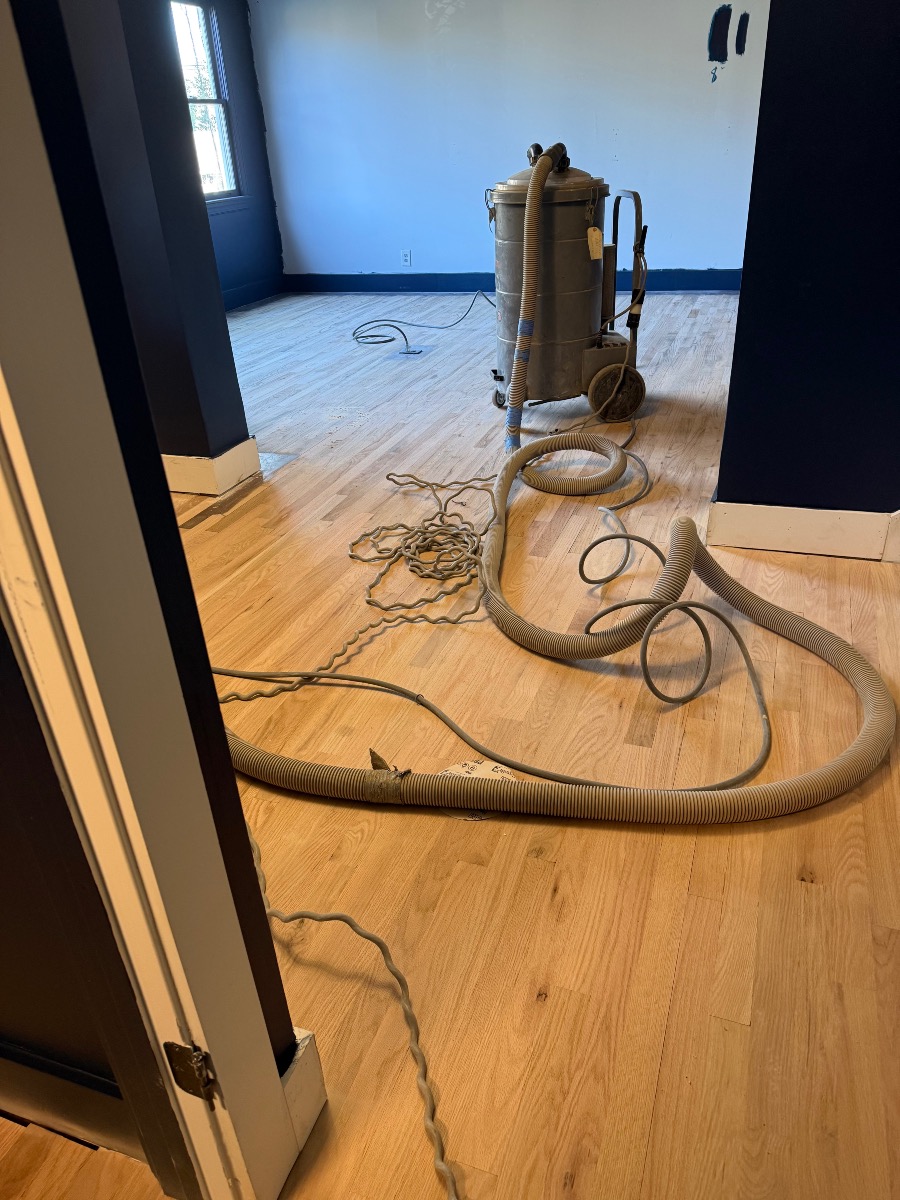
Clear and protect the work area the right way to control dust

Even with modern dust-control sanders and vacuums, sanding creates fine particles that want to drift. Your goal is to remove what can be damaged, then block the paths dust uses to travel.
Treat the work zone like a paint project, but with more grit. Dust floats, so it doesn’t just stay on the floor. It lands on shelves, counters, window sills, and inside HVAC returns if you let it.
A simple room prep plan that works for most homes:
- Move everything out (furniture, rugs, decor, closet items near the floor).
- Remove wall-hung items that can rattle or collect dust.
- Cover or seal doorways and open transitions.
- Protect HVAC vents and returns (as advised by the contractor).
- Decide how people will move through the house, if at all.
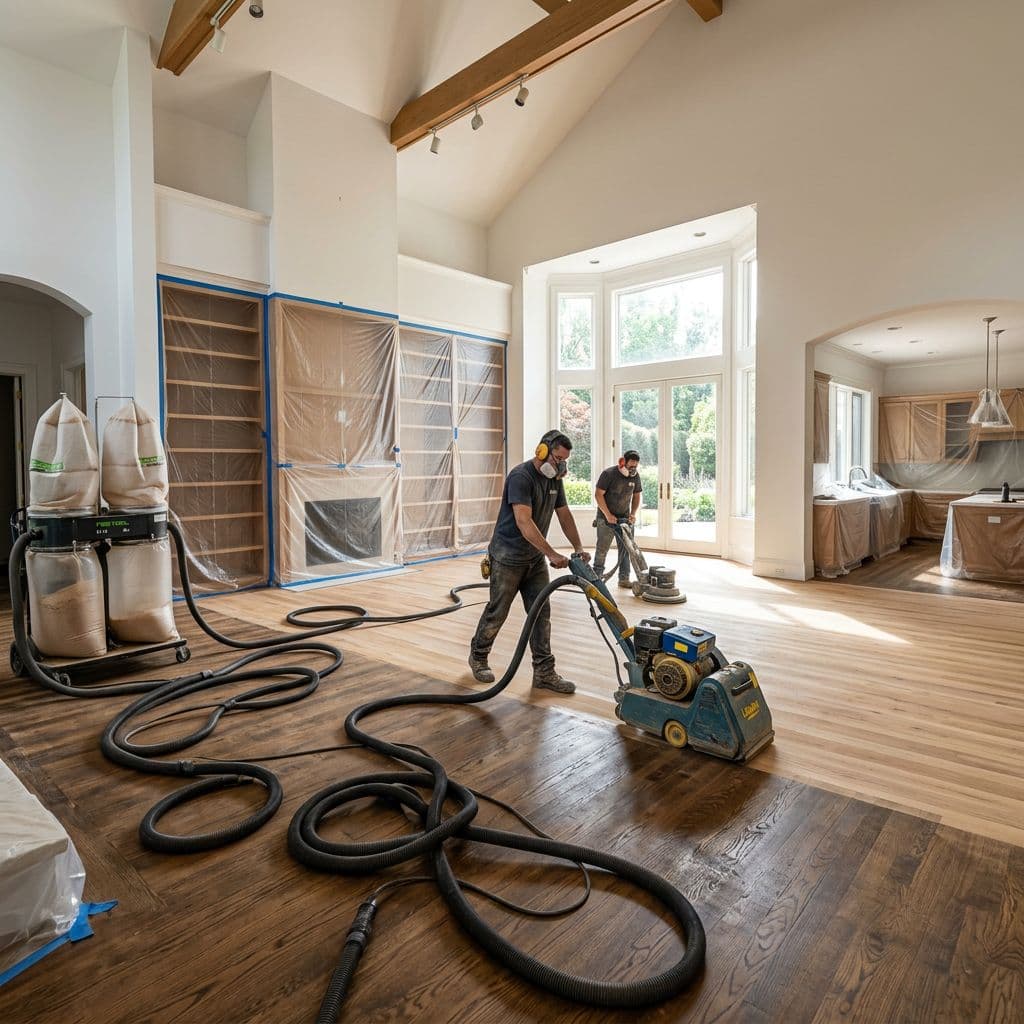
Open floor plans need extra thought. If your living room flows into a kitchen, you may need temporary plastic barriers that create a “soft wall.” Stairs can also act like a dust highway, so ask if they’ll be included or isolated.
Empty the room completely, including walls, windows, and closets
Most people remember the couch. They forget the little stuff that takes time later.
Before sanding starts, remove:
- Rugs and pads (and any tack strips left behind)
- Lamps, plants, and small tables
- Curtains, floor-length drapes, and low-hanging blinds
- Pictures, mirrors, and anything on floating shelves
- Closet contents that sit on the floor (shoes, bins, hampers)
Staging matters. A garage is great if it’s dry and secure. Another option is a sealed “clean room” that won’t be sanded. Either way, keep pathways clear for the crew to carry sanders and vacuums.
Doors are another smart move. Removing doors from hinges creates space and helps airflow. Put each door’s screws and hinge pins in a labeled bag. That tiny step speeds up re-install and prevents the “mystery screw” problem.
Seal off vents, doorways, and sensitive areas before sanding starts
Start with doorways. Hang plastic sheeting and seal the edges with painter’s tape. If you need to walk through, ask your contractor about a zip-style opening or a planned access route.
Next, protect HVAC. Cover supply vents and returns in the work area, but follow the contractor’s guidance. Some crews prefer the HVAC off during active sanding so dust doesn’t circulate through ductwork. Others may have a specific plan based on your system layout.
Also think about what dust bothers most:
- Electronics and computers
- Upholstered furniture nearby
- Pantry shelving in open kitchens
- Baby gear, cribs, and play areas
Smoke detectors sometimes need temporary protection if the crew recommends it, because fine dust can trigger alarms. Don’t tape over detectors unless your contractor says it’s safe and temporary, and follow their instructions for timing.
If you want a quick idea of what the service side should include, see: professional floor sanding services.
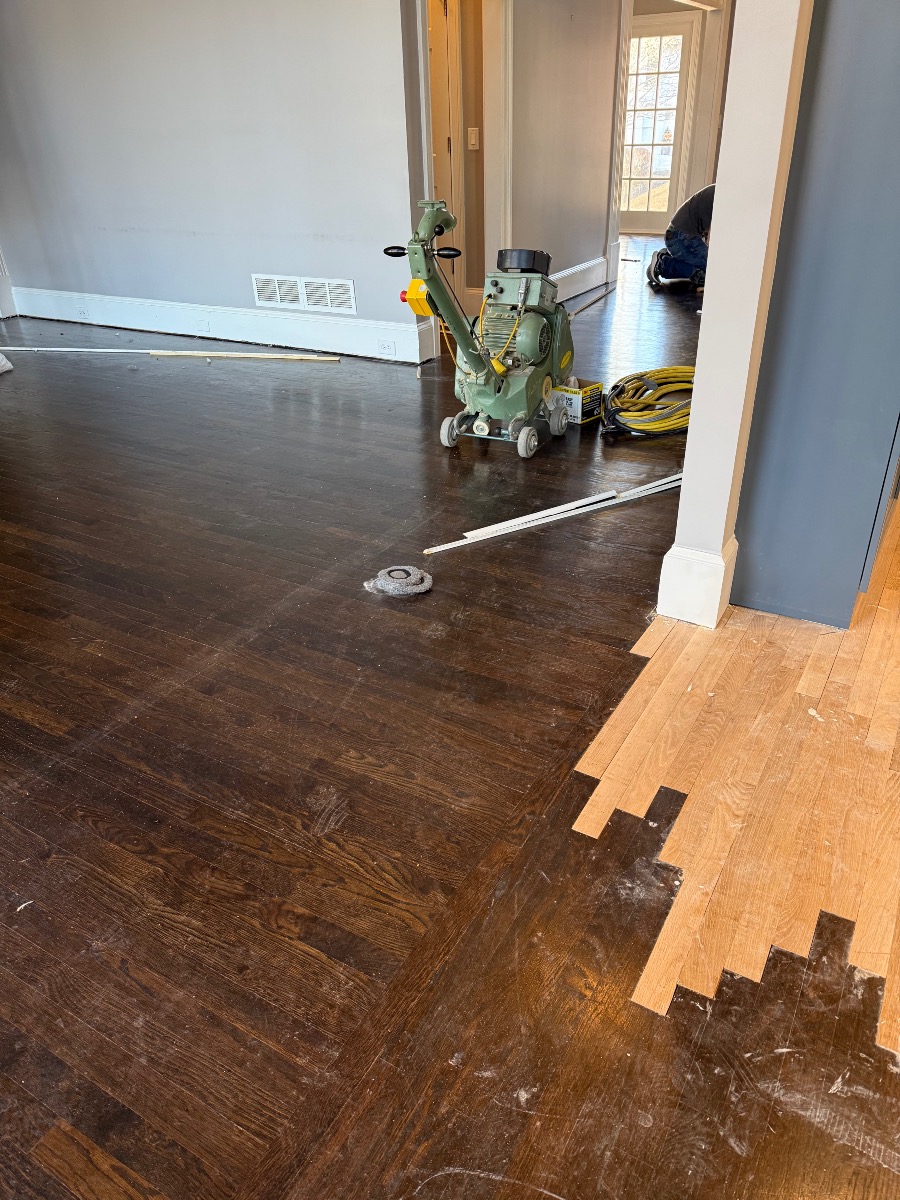
Handle repairs and cleaning now, so the finish looks smooth later
Sanding exposes everything. That means small defects can look bigger once stain or finish hits the wood. A little repair effort up front helps the final surface look even and intentional, not patched together.
Homeowner-friendly repairs are the small, controlled ones. Anything that involves replacing boards, fixing major gaps, or leveling cupped sections belongs in a pro’s lane. The same goes for deep pet stains, because those often need more than filler.
If you have squeaks, mention them early. Sometimes the fix is easy from below (basement or crawl space access). Other times the crew will address it from above during the project.
Do simple patch work, then let everything fully dry
Use a color-matched wood filler for tiny nail holes, shallow cracks, and small edge chips. Apply it neatly with a flexible putty knife. Wipe excess off the surrounding wood so you’re not spreading filler where it doesn’t belong.
Then give it time. Wet or soft filler can gum up sanding discs and force a stop. Dry time depends on product and humidity, so check the label and err on the longer side.
Once it’s fully dry, lightly hand-sand the filler flush with fine grit paper. You’re not trying to level the whole floor. You’re just knocking down the high spot so it blends during sanding.
Big gaps, missing chunks, and damaged boards usually require pro repair. If you suspect you’re in that category, it helps to understand the difference between a light refinish and deeper restoration work: hardwood refinish vs restoration.
Deep clean with the right method (and avoid residue)
Cleaning before sanding isn’t about making the floor “pretty.” It’s about removing grit and residue that can interfere with sanding and stain.
Use a simple sequence:
- Vacuum thoroughly, including edges and corners.
- If needed, damp mop with plain water (not soaking wet).
- Let the floor dry completely.
- Do a final dust pickup with a clean, dry microfiber cloth.
Avoid wax, polish, oil soap, and heavy cleaners right before sanding. Those products can leave a film. That film can affect stain absorption and finish bonding, and it can create blotchy spots that are hard to fix later.
If you’ve used wax or polish in the past, tell your estimator. That history matters, because it can change how the crew preps the surface.
Plan your household schedule, safety, and parking before the job begins
The sanding itself is only one part of the disruption. Noise, foot traffic limits, and drying time affect daily life more than most homeowners expect.
First, confirm the start time and daily work window. Next, make sure there’s a clear path from the driveway to the work area. Crews carry heavy equipment, so a clean entry saves time and prevents dings to walls.
Power access matters too. Ask where they’ll plug in, and clear that circuit if possible. Also decide where materials can be stored safely, like stain, sealer, and finish.
Finally, plan for comfort and safety. Sanding can be loud, and finishes can smell. Ventilation should follow contractor guidance, because “more air” isn’t always better during certain finish stages. If you’re debating whether to stay home, this article walks through real trade-offs: staying home during floor refinishing.
Where will everyone go, and what can you still use in the house?
Make a simple map of your week. Decide which rooms you must access (kitchen, bedrooms, bathrooms), then see if a temporary path is possible without stepping on coated floors.
If the project covers key routes, consider staying elsewhere for at least the sanding and first coat. Think of it like letting paint dry, except you’re drying a surface you walk on. One wrong step can leave a permanent mark.
A few practical rules of thumb help:
- Keep kids and pets away from the work zone at all times.
- Expect loud sanding during the day, especially in the first passes.
- Don’t put rugs down right after finishing, and don’t slide furniture back too soon. Follow your contractor’s timeline, because cure time is different from “dry to the touch.”
Parking can be a hidden headache in Atlanta-area neighborhoods. Save a spot close to the door if you can, and keep the driveway clear on sanding day. Less hauling time often means less time your home sits dusty and open.
Conclusion
Great sanding results don’t start with the sander, they start with your prep. Clear the room, protect vents and doorways, fix raised nails and staples, handle tiny filler repairs, clean without leaving residue, and plan pets, parking, and daily routes.
If you want the easiest next step, book an in-home visit so you can get clear answers and a clear schedule: Schedule a measurement appointment.
Your home deserves to look its absolute best. At Atlanta Floor One, we specialize in turning worn-out wood into stunning centerpieces. We offer cost-effective rates, turnkey service, and our amazing team handles everything from the initial sanding to the final coat!Ready to fall in love with your home again?