


Install a Walk-In Shower in just 4 steps

For some of us, the bathroom can be more than just a place to take a quick shower. They are for pampering, and that perfectly explains why the bathroom DIY projects have been skyrocketing in the past few years.
For the sake of people who want to modify their bathroom experience, today we will illustrate to you how to install a walk-in shower. You’ll get surprised just how simple and straightforward it’s to install a walk-in shower on your own. Let’s get right into it.
Step #1 – Find the spot, make a plan and demolish
Find the spot where you want to install your new walk-in shower. Then, make a detailed floor plan so that you don’t have to face difficulties later. From correct measurements to materials you are going to use, list down everything involved in the project!
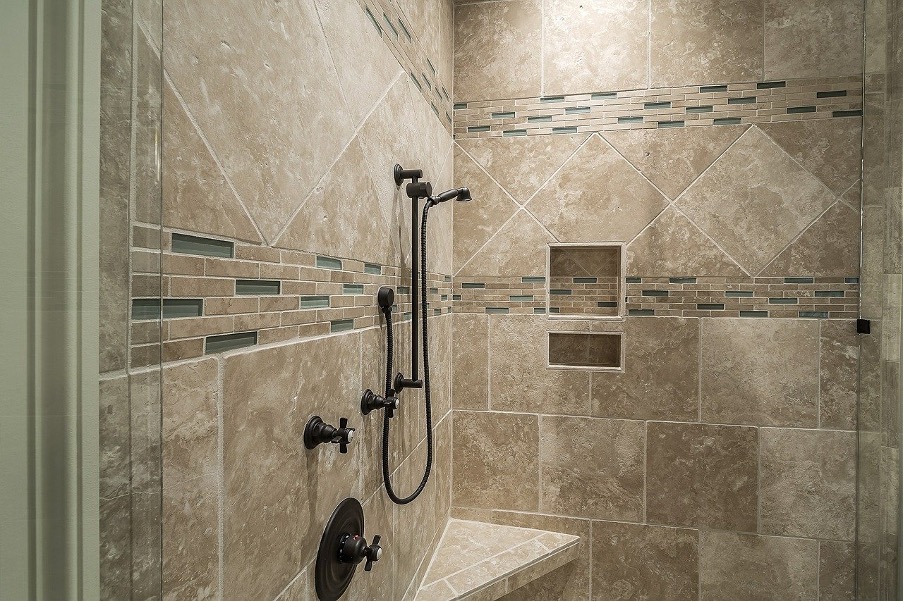
Here’s a rough list of materials that will be required to install a walk-in shower using our advice:
● Handle shower only faucet
● Spray Hand Shower
● Handle 6-Setting Diverter Valve Trim Kit
● 1/2″ IPS Handshower Wall Supply Elbow
● Universal shower valve body rough-in kit
● Tiles
● Frameless fixed shower door
● Shower pan liner roll
● Drill
● Brushless drywall screw gun
● ThinSet mortar
● Cement board
● Radiata pine ship lap board
Once you have everything set, it’s time to demolish your shower space: disconnect water supply and water fixtures. Grab a simple drywall jab saw and a pry bar to get rid of the tiles and drywall. The plastic tub will easily get removed by disengaging its clips from the wall studs.
Step #2 – Adding Extra Space and Plumbing
Once you have demolished your shower space, you can now add extra space. If there’s enough room behind your shower’s space sheetrock, you can add up to one extra foot to your bathroom. This will help you to create a sitting bench or storage space in your walk-in shower.
Next up, you can now install the walk-in shower using the previous fitting and drain you already have. But you can call the experts at Atlanta Floor One to learn about adding new features. They’ll guide you about everything you can do to add more features to your DIY walk-in shower project.
Step #3 – Choosing Floor Type
Once you are done installing the walk-in shower, it’s time to choose a floor type or shower pan. You can either pick a curb or curb-less design for your shower pan. Note that in the curb design, you’ll have to step over it as you enter the shower. And in curb-less design, the shower and surrounding will be at the same level.
Curbed designs are easy and cheap to install. And they do a better job at keeping the water inside the shower pan, whereas the curb-less designs more challenging to install, they provide a more open feel to the bathroom.
Choose one design according to your preference and move forward.
Step#4 – Installing tiles, fitting walk-in shower and providing final touches
How can you choose the best for your shower space from thousands of tiles available on the internet? Simply contact Atlanta Floor One and brief their professionals about your bathroom color scheme, your style preferences, and they’ll choose the perfect tiles for your bathroom.
Once you are installing tiles on your shower pan’s ceiling and floor, it’s time to fit the walk-in shower. Again, you can contact Atlanta Floor One or ATO so they can suggest you the perfect walk-in shower.
Next up, install an enclosure as per your preference and provide the final touches. Your walk-in shower is ready!
If you somehow run into any problem, feel free to contact  Atlanta Floor One. They are professionals in the field of bathroom renovation!