


How Professionals Install Stone Tiles

Natural stone tiles are an easy way to give your home a beautiful outdoorsy vibe. Classic, sophisticated, and clean to boot. We definitely endorse installing natural stone tiles in your home.
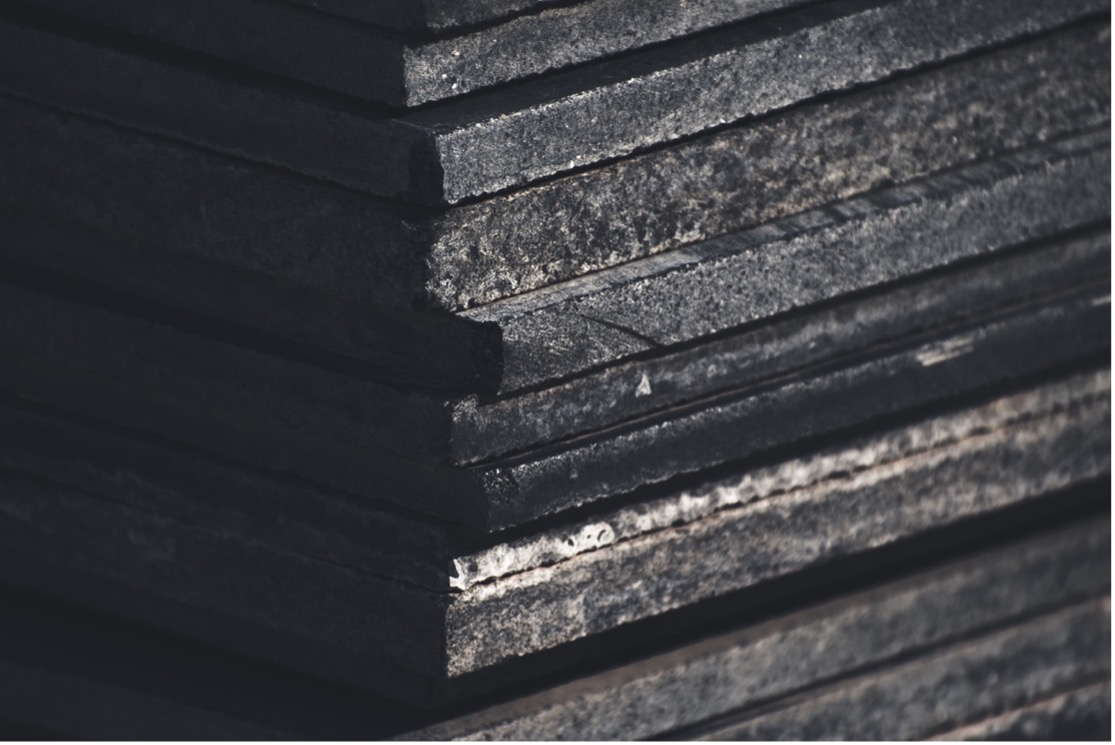
Stone Tile Installation
Stone tiles sound like they’d be heavy and difficult to work with. However, adding this almost medieval touch to your home isn’t as difficult as you thought.
To do this, you should keep the following in mind –
Unlike ceramic or porcelain tiles, stone tiles aren’t uniform. The thicknesses differ and there are natural variations here. It’s pertinent that you take the time to lay an adequate foundation and figure out a way to compensate for these differences or at least make the best of them. Otherwise, you’ll be left with a haphazard, unfinished look.
Tools/Materials Needed to Install Stone Tiles
To do a good job, you need most of the following tools or tools that can serve as a substitute for them –
- Chisel bits
- Bucket
- Trowel
- Floor scraper
- Hammer drill
- Hammer gun
- Penetrating sealer
- Quick setting thin-set
- Grout
- Grouting sponge
- Grout float
- Stone tiles.
That said, here’s how the professionals do it –
Step 1 – Remove the old tile and thinset
This is for when you’re remodeling and would have to get rid of old tiles or other types of flooring in the space. It requires a bit of good old-fashioned hammering. Start from the outer edges and break up the tiles. It’s easier this way. This is where you get to use the chisel set and hammer gun. The thinset from the previous tile needs to go as well. A hammer drill works great here.
Step 2 – Clean up
A vacuum cleaner should easily get rid of all debris and dust. Ensure the area is smooth and ready to go.
Step 3 – Do the math
Nothing fancy. Just measure the area you’ll be tiling and match it to the size of your tiles. This will help you figure out how many tiles you need and which ones need to be cut.
Step 4 – Get the thinset ready
Just pour it into a bucket and slowly add water till you get a pancake batter consistency. Who knew your baking skills could come in handy here? It’ll probably ‘false set’ in 5 minutes. Just mix again to remove the stiffness and rehydrate.
Step 5 – Place the tiles
Start by applying the thinset and carefully placing the tile on it. Do this in sections, especially when there’s only one exit in the room. Cutting tiles and sticking them on the floor is the easy part. It’s the little things you do in between and afterward that make all the difference.
- Use a wet grout sponge to dampen the back of the tiles first. This is a smart way to slow setting time and create a stronger bond between the tiles and the thinset.
- Leave small joints between the tiles when placing them so the focus is on the tiles.
- Granted, there are no actual designs on stone tiles, but you can follow the natural pattern when laying them to enhance the final look.
Step 6 – Adding the final touches
Start by sealing with a penetrating sealer. Let the tiles dry and clean with water before sealing. This is done by simply spraying the sealer on the tiles. Once this is done, go ahead and apply the grout.
 Atlanta Floor One. We’re a reputable company of floor installers, and stone tile installation is a specialty of ours. Give us a call now at 404-578-0926!